How to connect a real phone to the program
This feature requires the Real-phones module, which is not included in the standard license and is purchased separately.
Connection guide
1) Enable developer mode on your phone. Look up how to do this for your exact phone online — it's very easy.
2) In the "Developer options" settings, enable:
- USB debugging
- Install via USB
- Any options with ADB in the name
- The "Stay awake" option (or similar) so the phone screen stays on while charging.
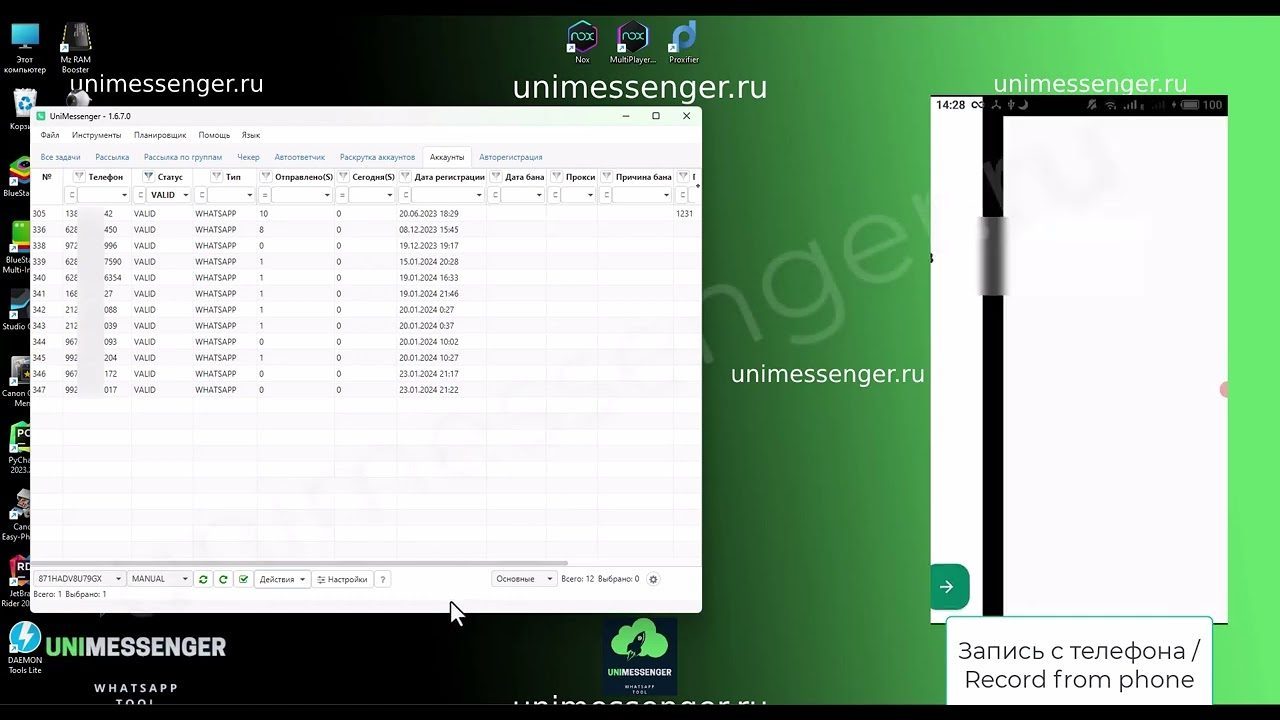
3) In UniMessenger/UniInstagram, pick the device "Phone". For device selection and settings, see here.
4) Connect the phone to the computer via USB.
5) Refresh the device list in the program on the Accounts tab — click the refresh icon where you select the emulator.
6) On the phone, allow the connection and check "Always allow" so the phone always connects. If you change the PC, you'll need to do this again.
7) In the device actions, choose "Grant access". After that, the program installs a service app, opens it, and you'll need to grant root access on the phone and tick "Remember choice".
8) After that you can work with the phone the same way as with an emulator: save and open accounts, run auto-registration, and broadcasts.
9) Test the phone by saving an account and then opening it back on the phone.
10) If something goes wrong, make sure that the device "Phone" in the program has the PHONE file-transfer mode set — it's in the device's "Advanced settings".
If you have used the phone for debugging before but for some reason it doesn't appear in the device list in UniMessenger, try "Revoke USB debugging authorizations" in developer mode on the phone.
Video instructions